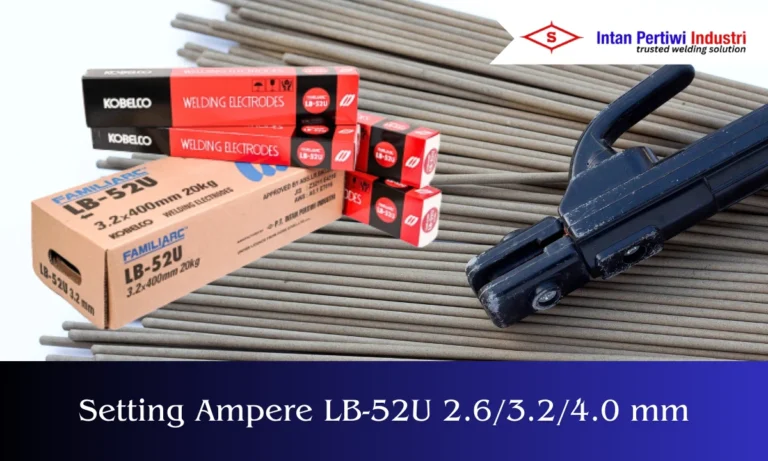
If you are looking for the correct LB-52U 2.6/3.2/4.0 mm Ampere Setting so that the welding results are more stable, neat, and have minimal defects, you are in the right place.
If you've ever felt like your welding results are "sometimes good, sometimes annoying," the problem often isn't with your hands—it's with the incorrect amperage settings.
Especially if you use KOBELCO LB-52U AWS A5.1: E7016, a low hydrogen electrode that is known to be strong for structural work, but still requires the right current so that the arc is stable and the bead is neat.
In this article I summarize the complete LB-52U KOBELCO 2.6/3.2/4.0 mm Ampere Settings for flat/horizontal positions, 3G uphill/4G, to root pass.
After the table, I've added some practical tips so you can choose the most "lucky" numbers on the field without going outside the safe limits.
Why is the LB-52U Ampere Setting Crucial?
LB-52U is generally used when you need a strong, consistent connection. However, due to its low hydrogen nature, the results are greatly affected by:
Heat input (too hot → undercut/spatter; too low → sticking)
Weld pool control (especially vertical up & overhead)
Root pass quality (root connection must be neatly penetrated, not broken)
So, instead of “going up and down the amperage using feeling”, it’s safer to start from the official table first.
Before determining the most appropriate current, it's a good idea to first understand the basic process. Please read what is SMAW welding to ensure your amperage settings, movement techniques, and welding results are more consistent.
LB-52U 2.6/3.2/4.0 mm Ampere Settings and Welding Positions
Position description:
1F, 1G, 2F, 2G = flat & horizontal
3G uphill, 4G = vertical up & overhead
Root pass = root path of the connection
| Diameter LB-52U | 1F, 1G, 2F, 2G | 3G Uphill, 4G | Root Pass |
|---|---|---|---|
| 2.6 mm | 60–90 A | 50–80 A | 30–80 A |
| 3.2 mm | 90–130 A | 80–120 A | 60–110 A |
| 4.0 mm | 130–180 A | 110–170 A | 90–140 A |
Note: DCEN is also suitable.
In the same data, the polarities listed are: AC, DCEP (with the additional note that DCEN can be used).
How to Choose the “Right” Ampere Within the Range
1. If your focus is Root Pass (Root Connection)
The root pass is the most sensitive. Too high can cause the root to break, while too low can result in poor penetration or easily cause defects.
Easy benchmark:
Start from the bottom–middle range, then increase slightly if penetration is lacking.
Try to keep the weld pool “calm” and not widen excessively.
Examples of starts that often feel safe (stay within the official range):
2.6 mm: try 50–60 A first (depending on gap & bevel)
3.2 mm: try 80–95 A
4.0 mm: try 110–130 A
Remember: this is not a new standard number, but a way to choose a starting point from the official range to find the feel more quickly.
2. For 3G Uphill and 4G (Vertical Up & Overhead)
In this position, too high amperage is usually immediately visible:
beads become “flooded”
undercuts appear easily
slag becomes difficult to control
Therefore, use the 3G uphill/4G range (which is indeed lower than flat/horizontal) and prioritize control.
3. For 1F/1G/2F/2G (Flat/Hor)
In the flat/horizontal position, you have more room to play in the middle–upper range—as long as the bead stays neat, doesn't spread too much, and doesn't dig into the edges (undercut).
Characteristics of your Ampere Settings being too low or too high
Ampere Too Low
Electrodes often stick
The arc feels “alive-dead”
Beads tend to be convex, penetration is less
Slag feels like it's piled up and is difficult to clean.
Ampere Too High
More and more spatter
Bead widens, joint edges prone to undercut
The weld pool is too liquid, making control difficult.
It feels “really hot” even though the movements are correct
Important Information That Is Often Forgotten: Redrying LB-52U
Because LB-52U is low hydrogen, the condition of the electrodes greatly affects the consistency of the results.
Redrying conditions: 300–350°C for 0.5–1 hour. This helps maintain performance and reduces the risk of electrode moisture-related problems.
Conclusion
LB-52U 2.6/3.2/4.0 mm Ampere Setting should always refer to the official ampere range, because each welding position requires different heat control.
For the safest and neatest results, use lower amperage on 3G uphill/4G and root passes to keep the weld pool under control and reduce the risk of undercut/burn-through, then use higher range on flat/horizontal positions if you want faster deposition.
Lastly, do not ignore the electrode condition (redrying 300–350°C for 0.5–1 hour) because it greatly affects the arc stability and consistency of the joint quality.
If you want to order KOBELCO LB-52U or consult about your welding needs, please contact us for ordering.

FAQs
1. What is the safest ampere for LB-52U according to diameter and position?
Use the following ranges as needed: 2.6 mm (60–90A flat/horizontal, 50–80A 3G/4G, 30–80A root), 3.2 mm (90–130A, 80–120A, 60–110A), and 4.0 mm (130–180A, 110–170A, 90–140A). The key is that the 3G/4G and root pass positions are usually lower than the flat/horizontal passes to maintain control of the weld pool.
2. Why do the ampere settings for 3G uphill/4G and root pass tend to be lower?
Because of the vertical up/overhead and root pass positions, the weld pool is more likely to “run” if it overheats. Lower amperage helps maintain bead control, reduces the risk of undercut, and prevents burn-through at the root of the joint.
3. What polarity should the LB-52U use, and is DCEN allowed?
The LB-52U can be used on AC and DCEP, and it is noted that DCEN is also suitable. Select the polarity according to the job requirements and field procedures/WPS, but ensure the current remains within the recommended range for the diameter and position.